Tutorial/Photo
This shows how Knotter can be used to trace a knot from a picture of the knot.
Loading the image
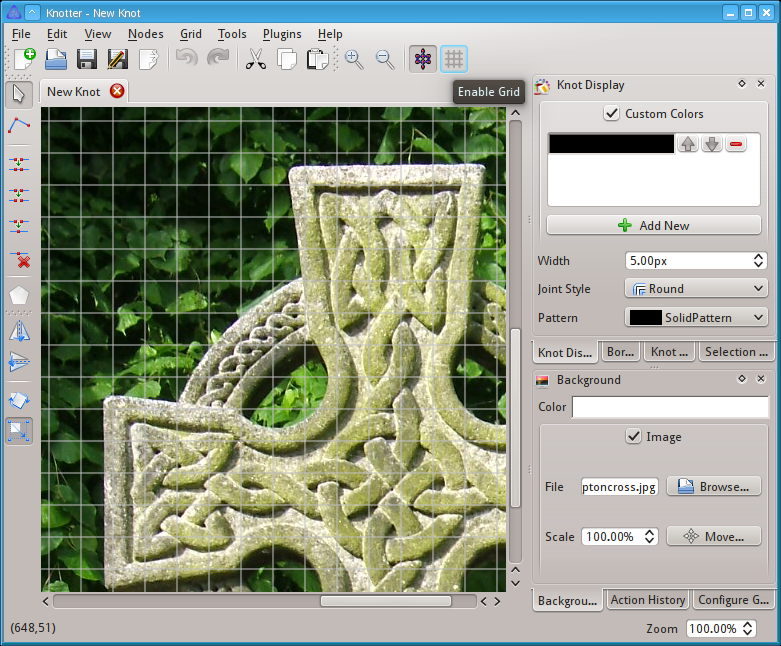
The first step is to load the image as a background in a new knot.
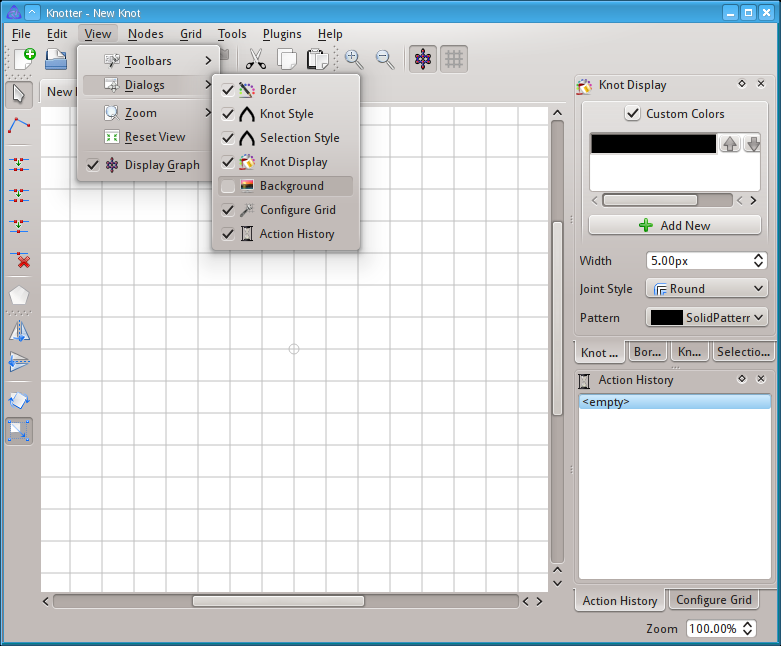
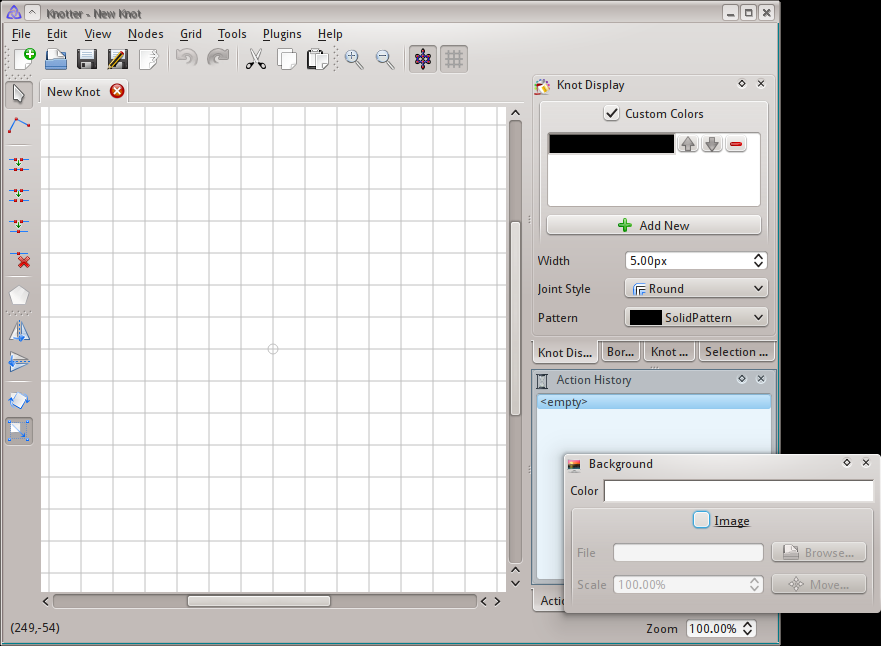
In the default settings the background dialog is not shown, this can be changed with View → Dialogs → Background
As with most dialogs, it can be docked to the side of the window.
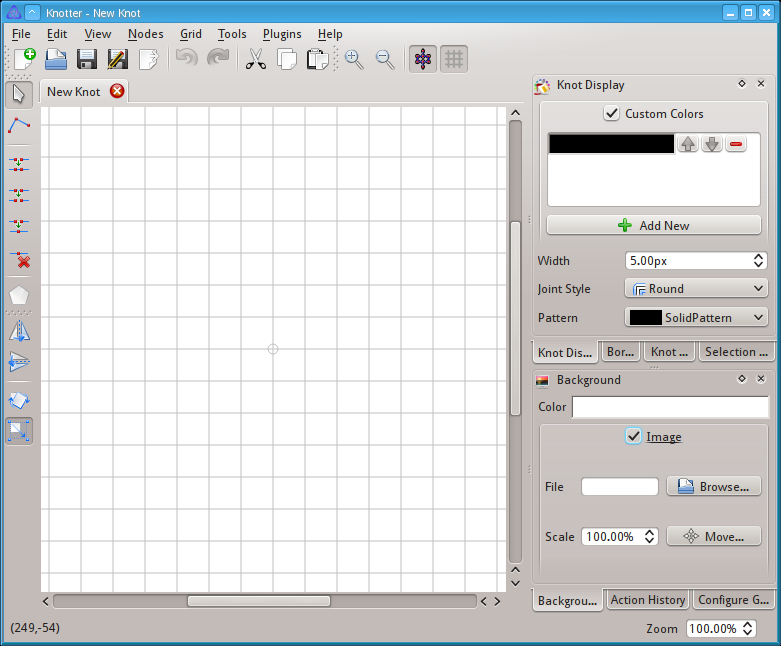
Now we have to enable a background image.
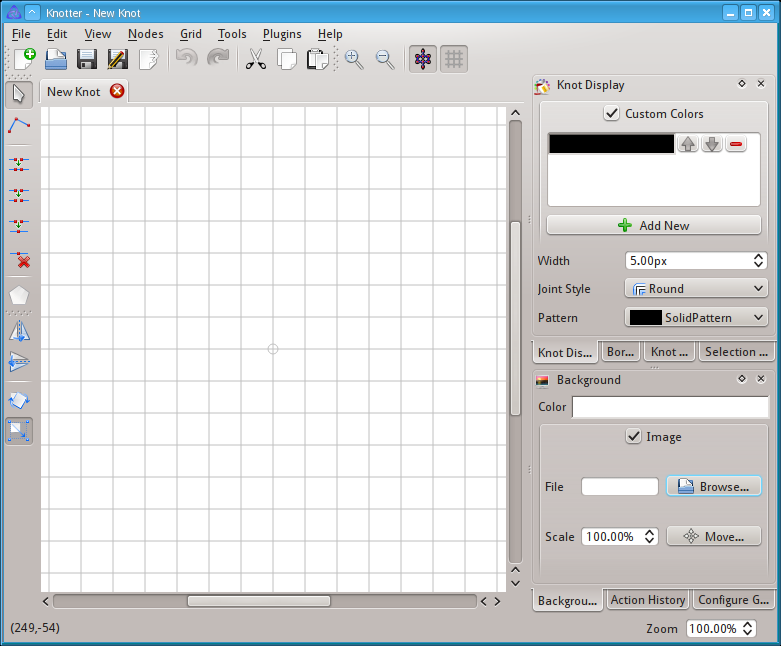
And load it, using the Browse... button.
The image is now loaded, we can pan to the desired location or move the image from the dialog.
For the first part the grid can be disabled.
Sketching the knot
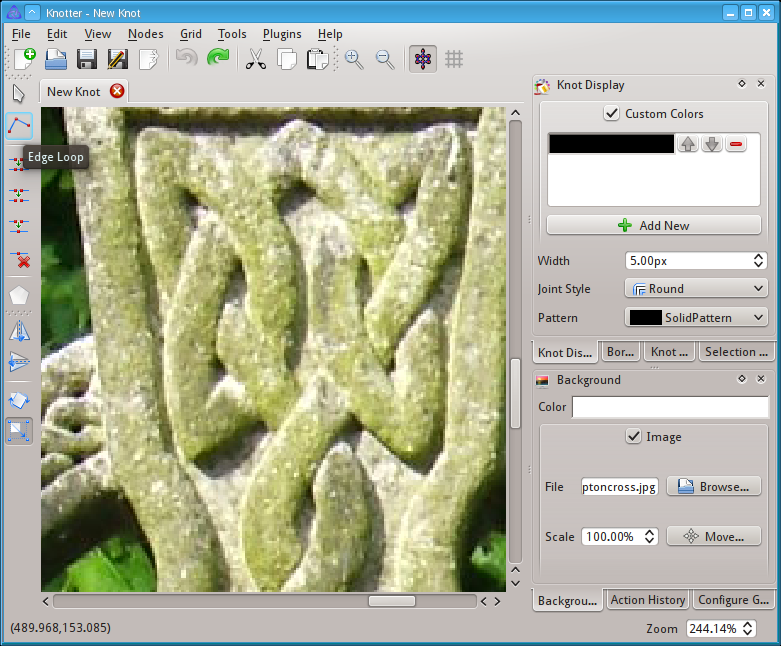
We can now zoom in and use the Edge loop tool.
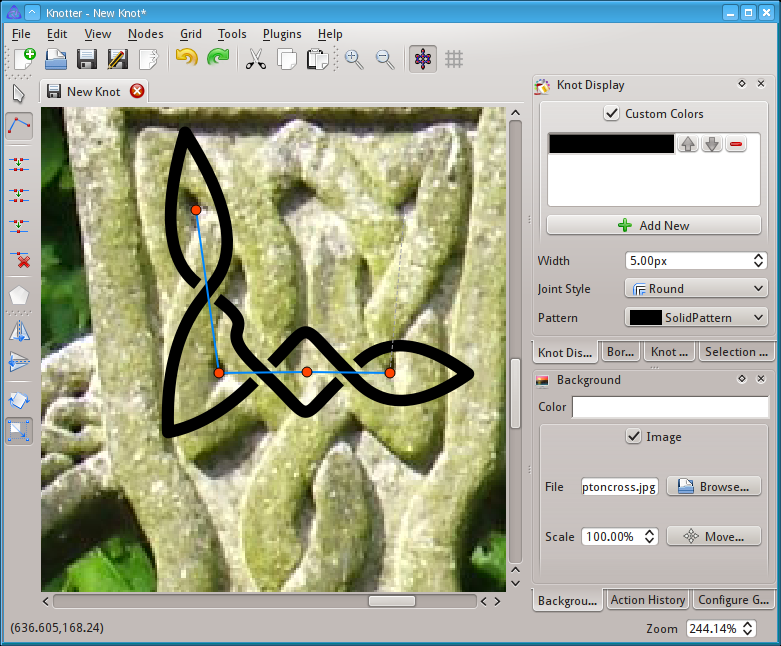
We can now start placing the nodes in the canvas with the left mouse button.
It may take some experience to understand where to place them. This process, called "extraction" is described in Celtic Knotwork: the ultimate tutorial - Extraction
Complete the first part. To exit from the edge chain right click.
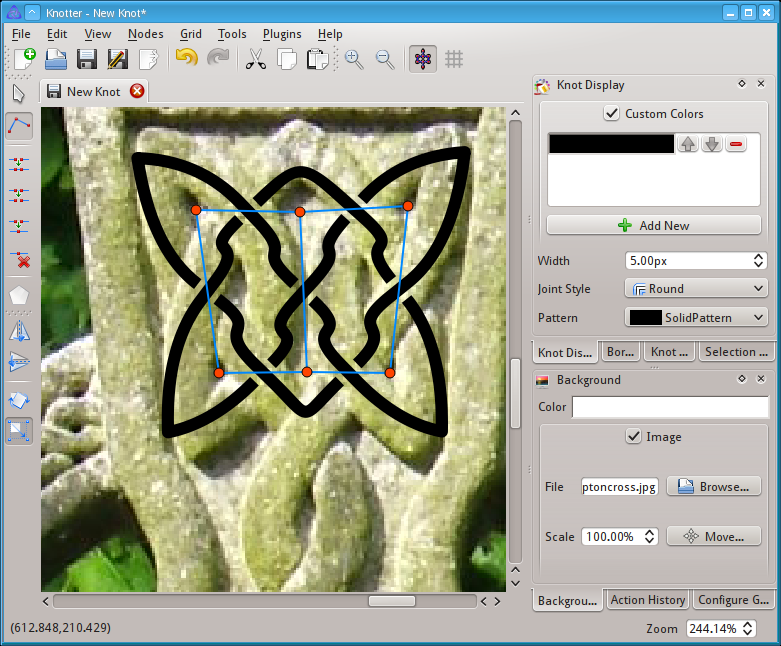
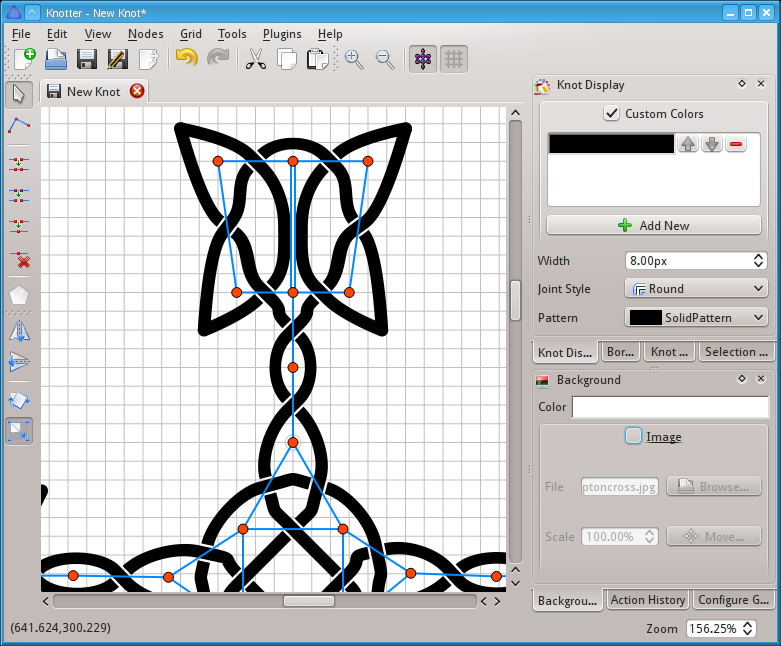
Now the graph corresponds to the image but there is a discrepancy with the rendered knot: the background image has no crossing at the center but the knot does.
This can be fixed changing the type of the edge in the middle which can be achieved with the mouse wheel or right-clicking on the edge.
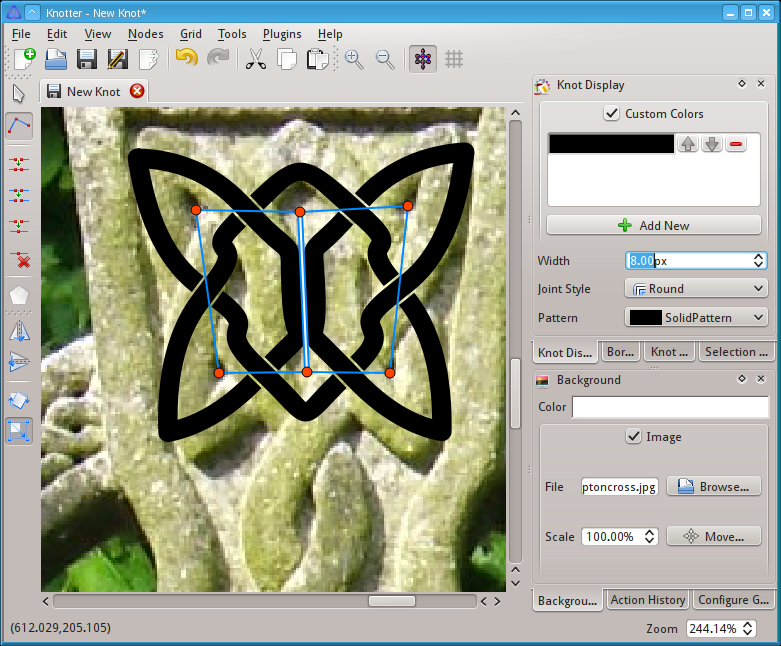
Before continuing we can adjust a bit the style.
A wider rope will be easier to see when we zoom out.
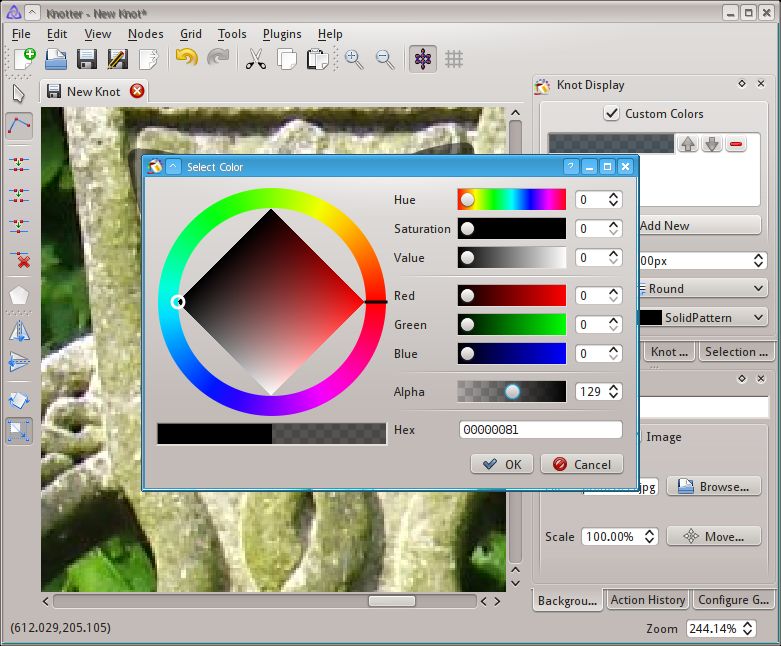
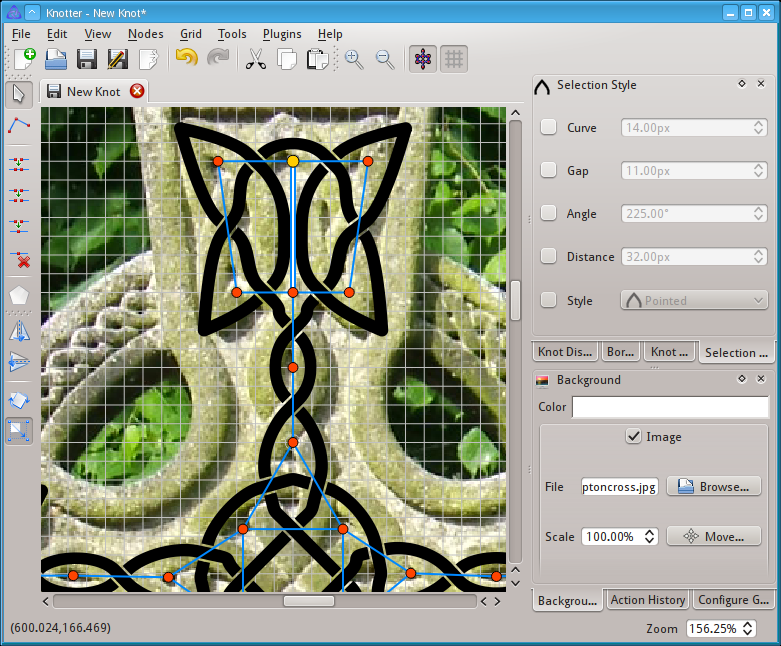
Making the color slightly transparent allows us to see through the knot.
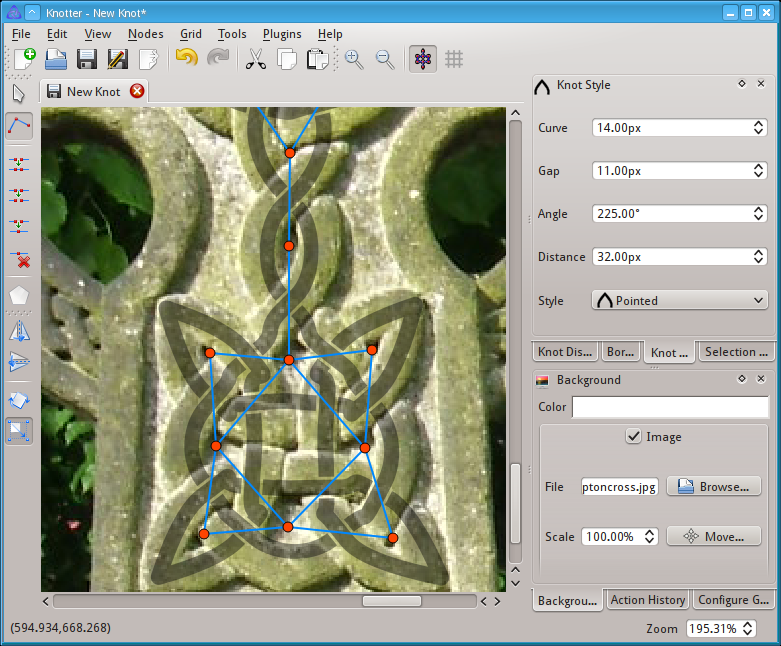
We proceed and draft the graph on the central part of the cross.
Follows the right arm of the cross, the left arm is symmetrical.
And the base of the cross.
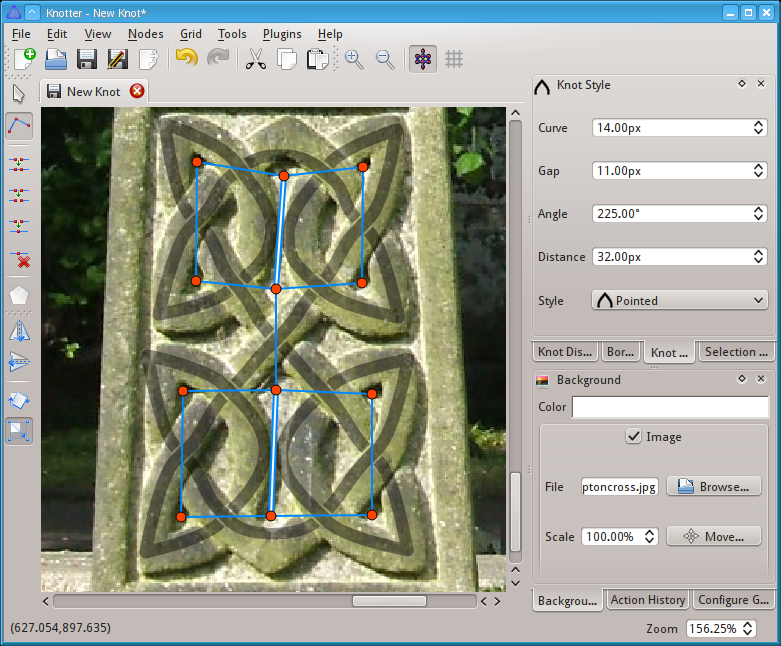
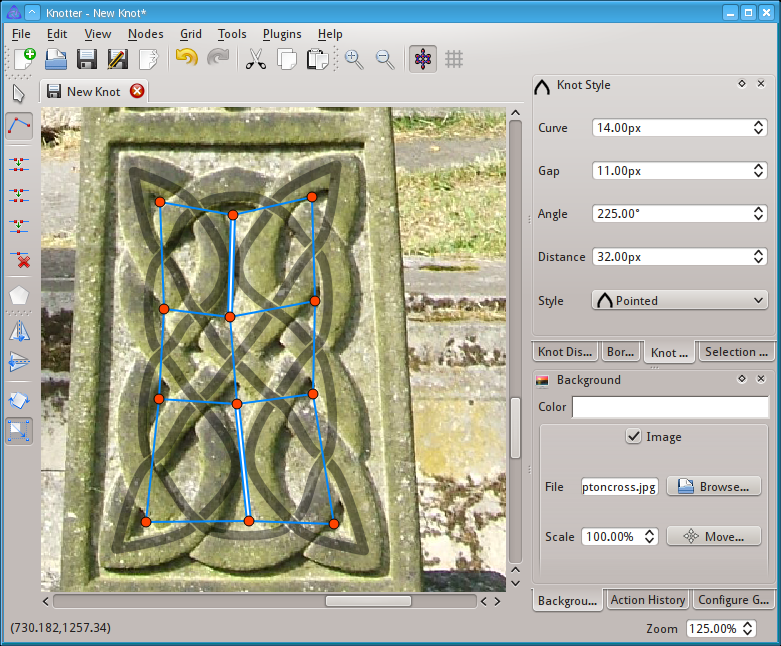
We now proceed the the two knots under the cross.
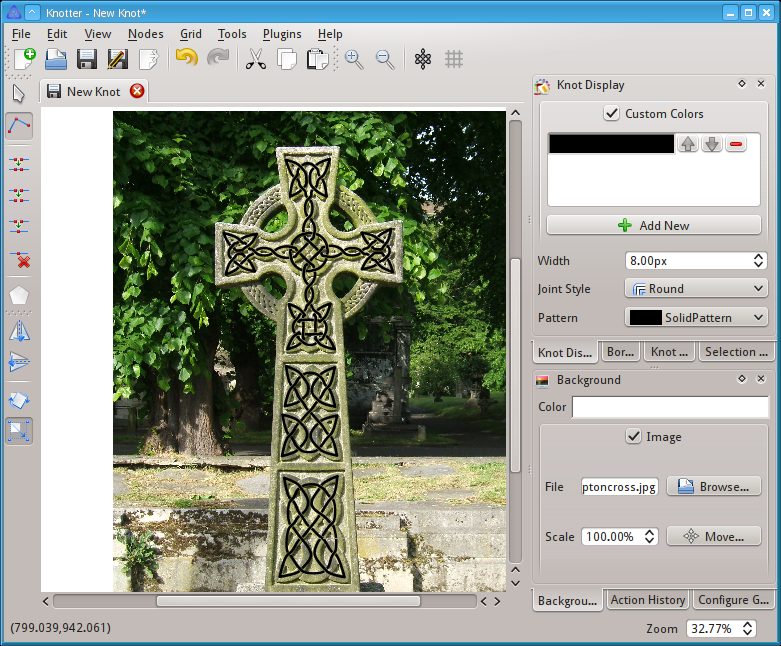
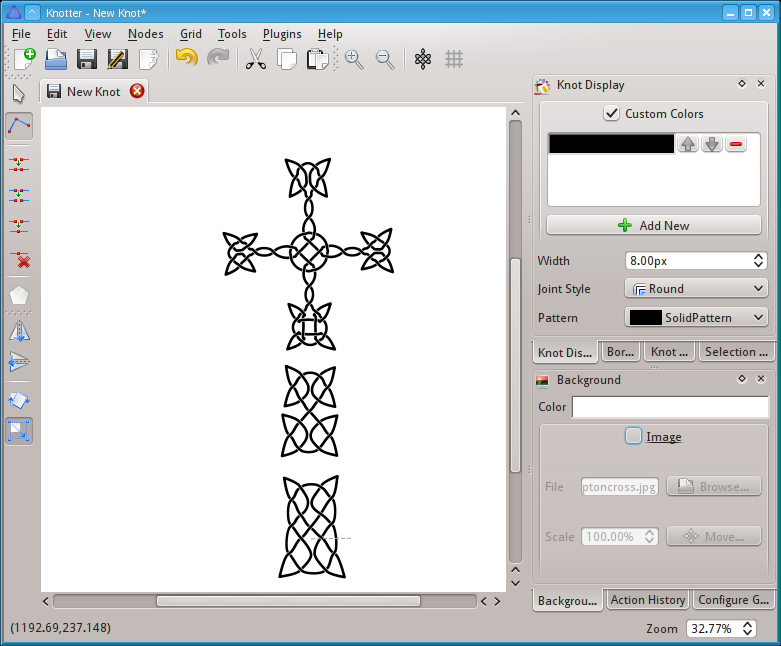
Here is the result, with the color back to fully opaque. The knot follows the image very closely but it's not fully symmetrical.
Fine-tuning the graph
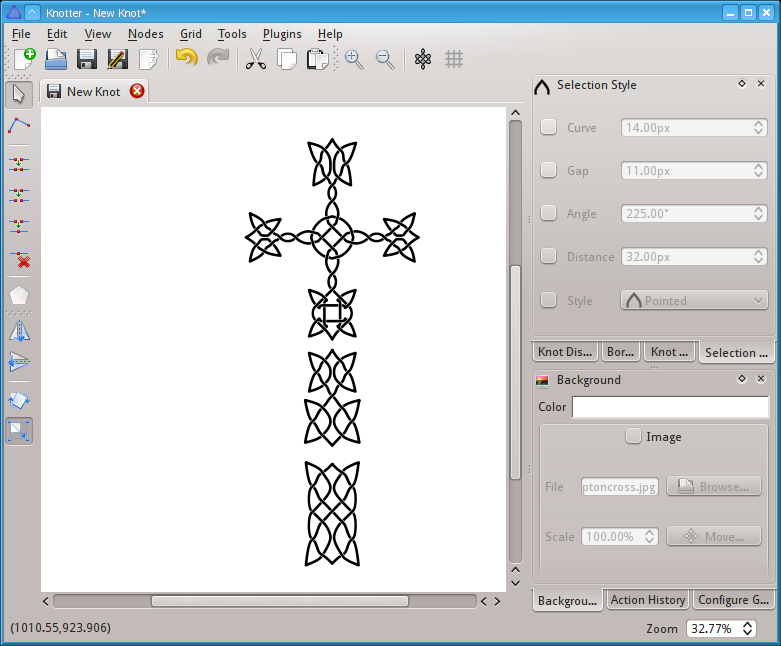
Here is the result of the previous part, with the background disabled.
We need to make the design more symmetrical, for this we will be using the grid.
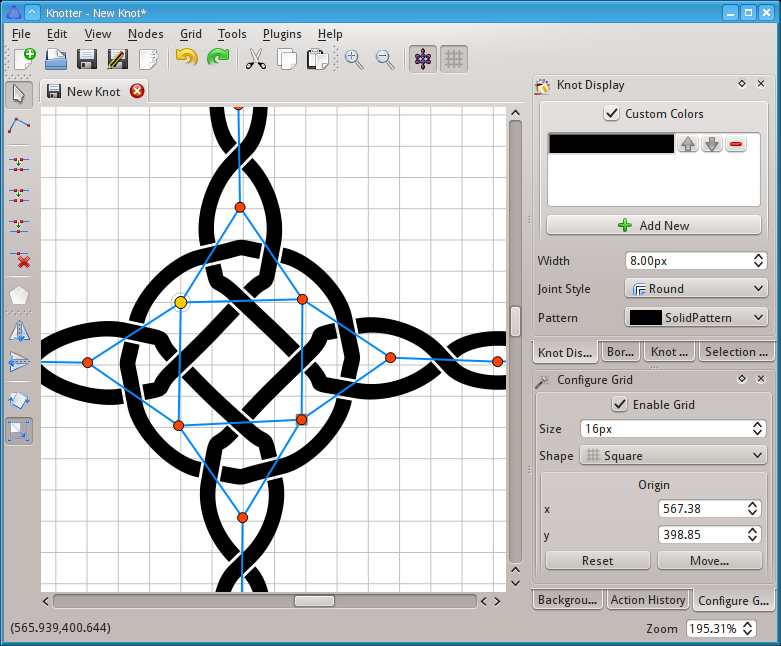
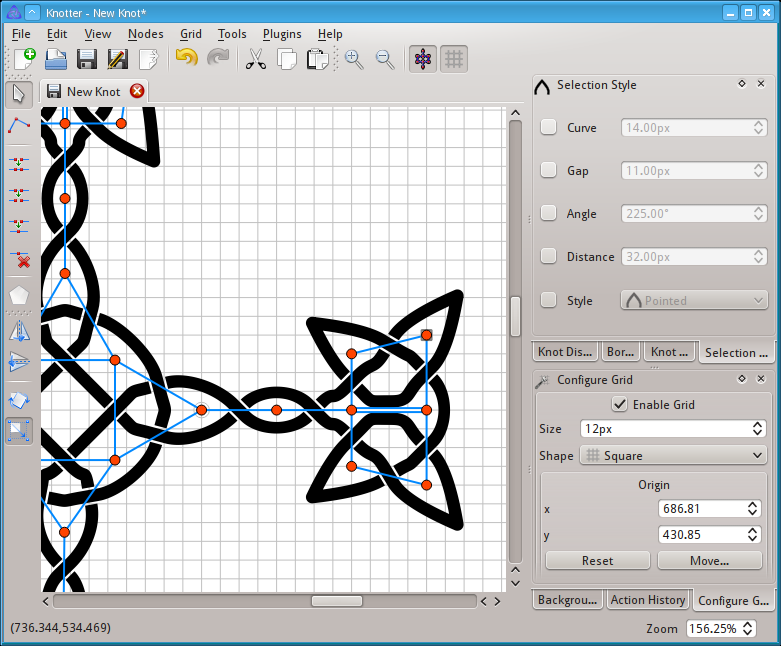
We start with a 16px square grid and move the center to one of the central nodes.
Click Move... on the grid dialog and then click on the desired node to move the grid.
No we switch from the Edge chain tool to the Edit graph tool.
The nodes will be snapped to the grid when moved or double-clicked.
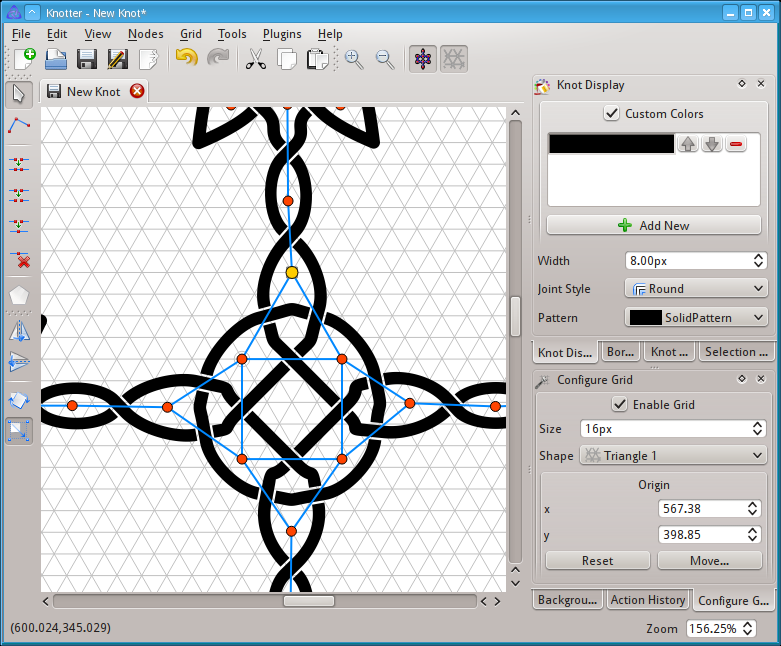
After having snapped the four central nodes, we change the grid shape to Triangle 1 to snap the node leading to the top.
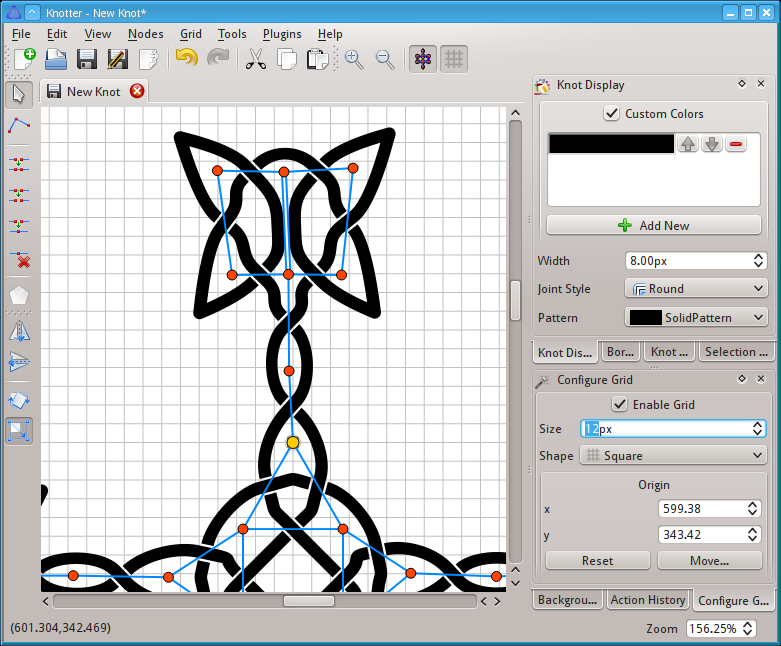
We now change to a 12 pixels square grid centered on the tip of the triangle.
We snap the nodes on the top arm of the cross.
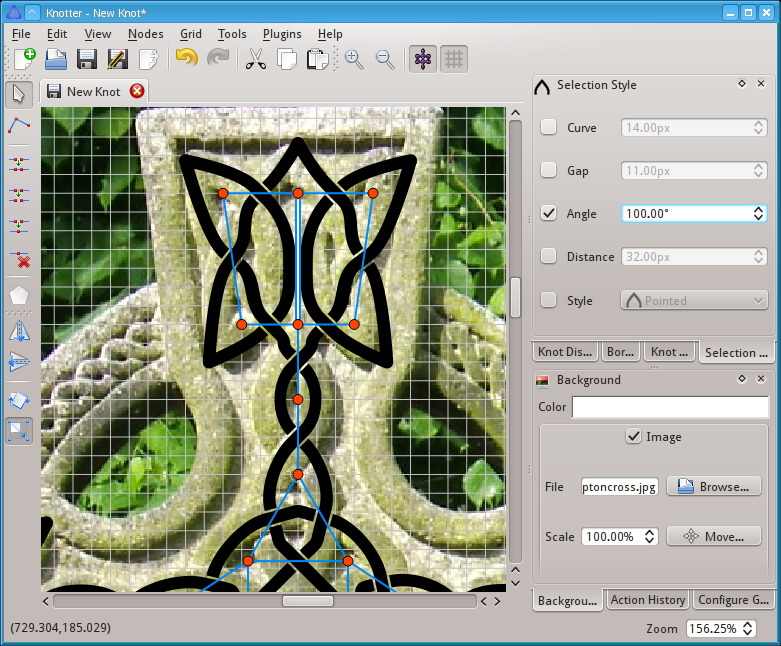
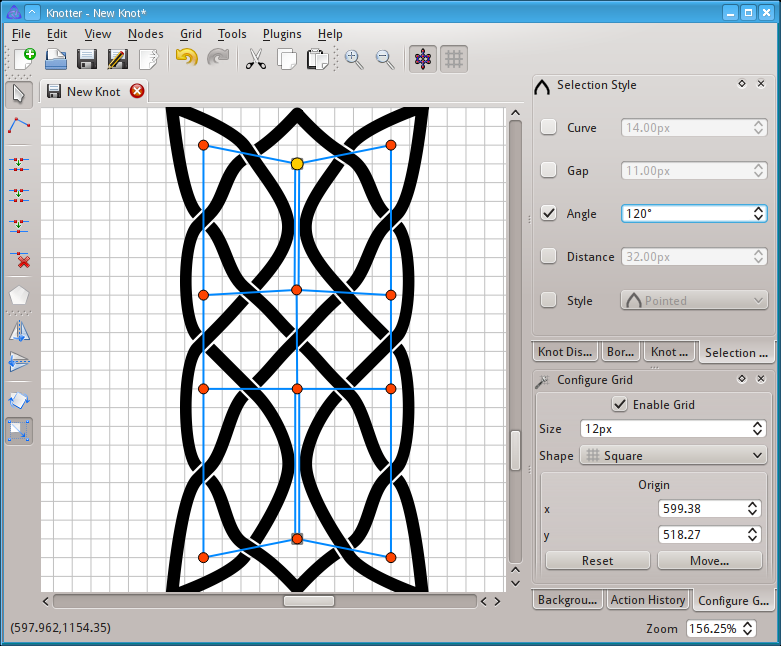
Note that the highlighted node does is not making a cusp, the line above is a smooth curve. The underlying image instead has a pointed tip in that location.
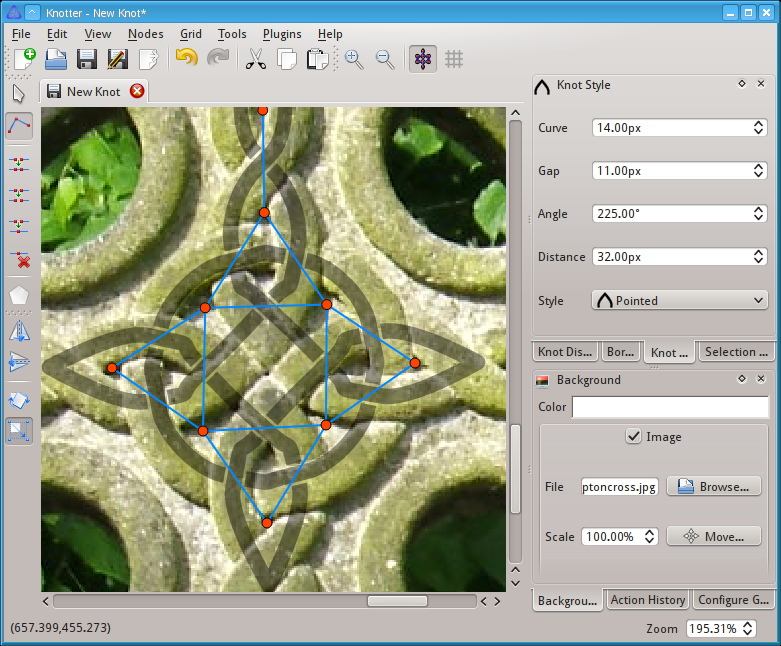
With that node selected we change the minimum angle required to trigger a cusp in the selection style dialog. This will affect only the selected node. Since the angle is 180°, something less than that will suffice. A value too low (below 90° in this case) will trigger extra cusps also for the lines leading down.
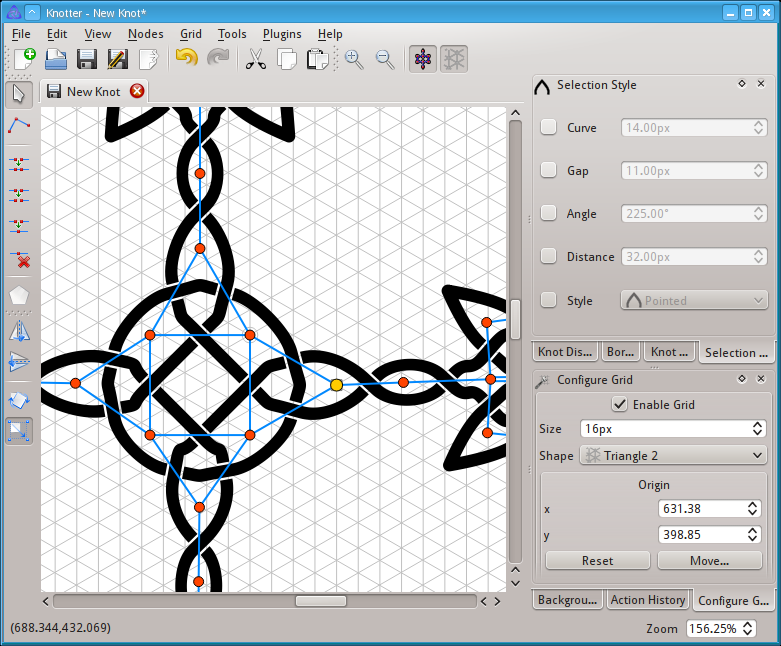
We now move back down and use a 16 pixels Triangle 2 grid to snap the node leading to the right.
With the same procedure used on the top, we snap the nodes on the right arm of the cross. The same steps are required for the left arm and the base.
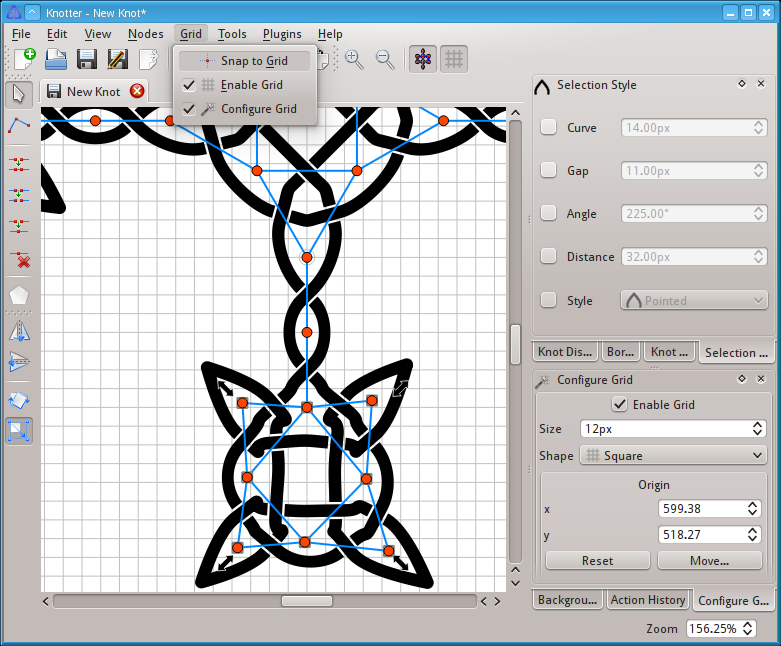
Note that you can snap a bunch of nodes at the same time if they are selected and you use Grid → Snap to grid
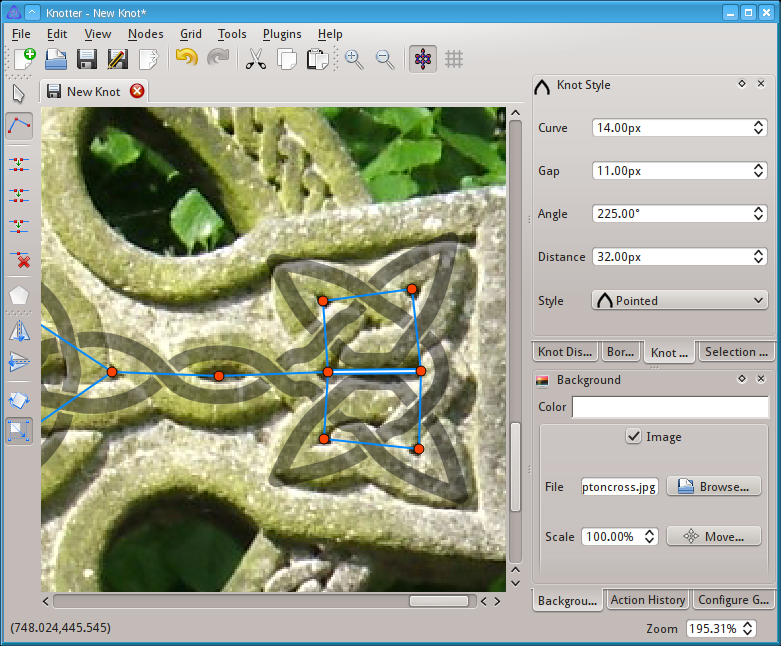
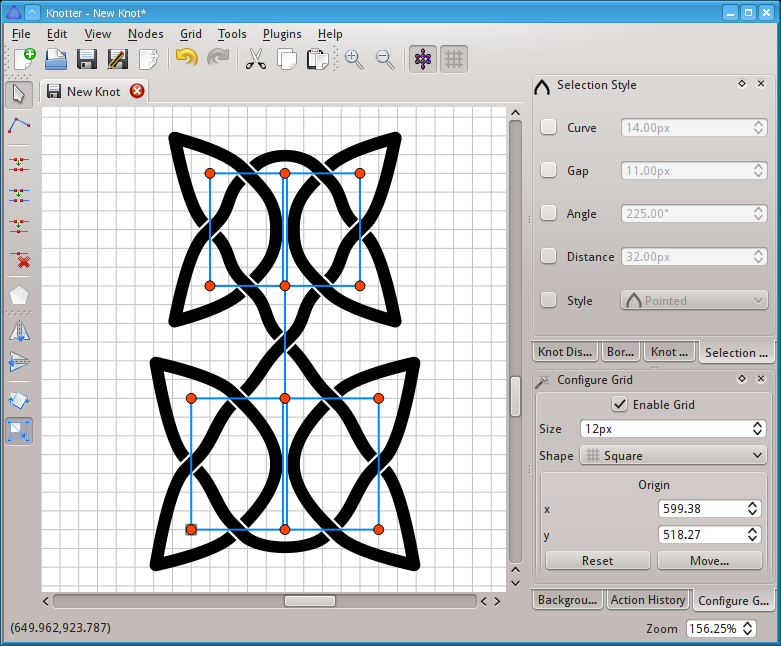
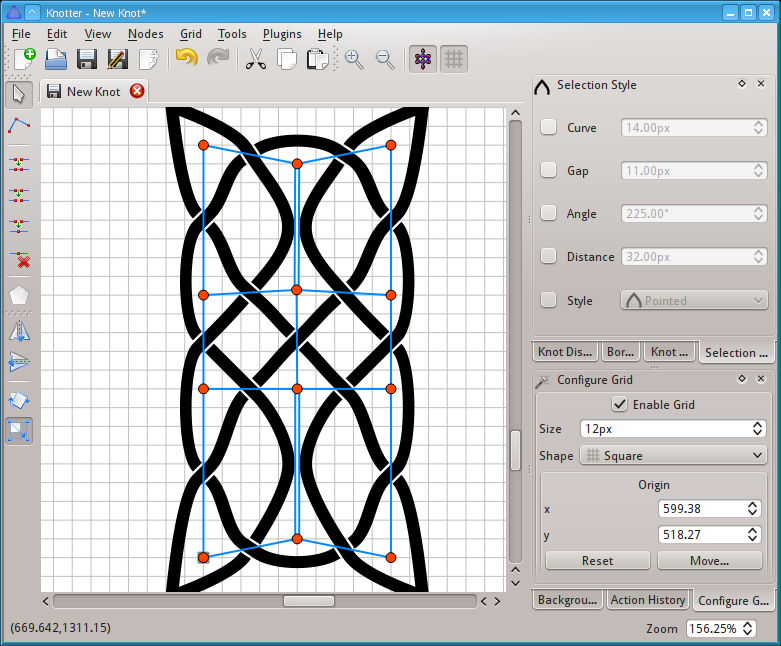
We snap the other two knots.
Some of the nodes require the same styling as the one on top of the cross. Make sure that you choose a proper value for the angle. For the bottom-most knot a value of 100° is too low.
Here is the knot so far.
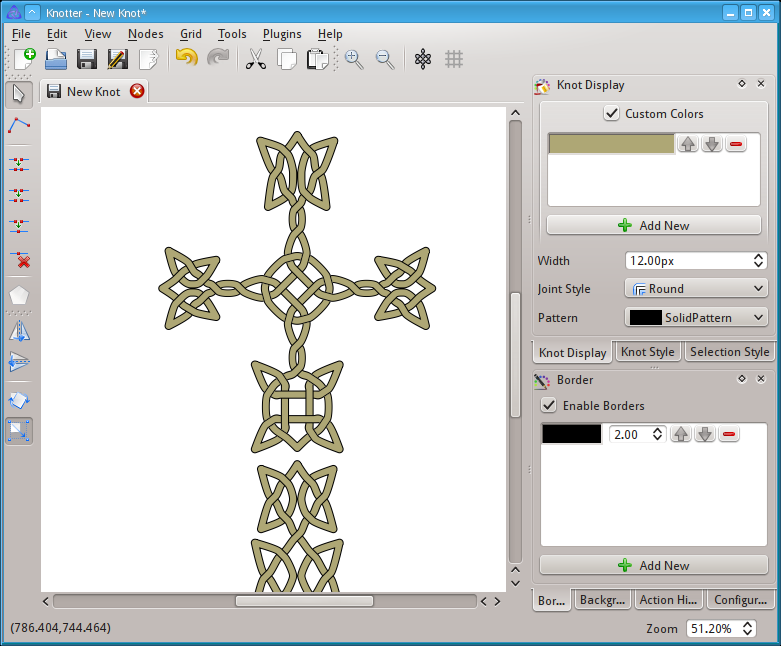
We can now change the style and display to make it more appealing.
Here is the knot with the same color as the image and a black outline.
Now the knot is complete!

